Building a Hurdy Gurdy
Story of a hurdy gurdy - Baptiste Schieberlein
Bending sides
Hello,
These last days I worked on the bending of the hurdy-gurdy sides !
First I built a home-made bending iron! A few recycled pieces of chipboard, a steel pipe and a blow torch. It’s working nicely but you have to be careful to put the blow torch at the minimum otherwise it will burn the wood.

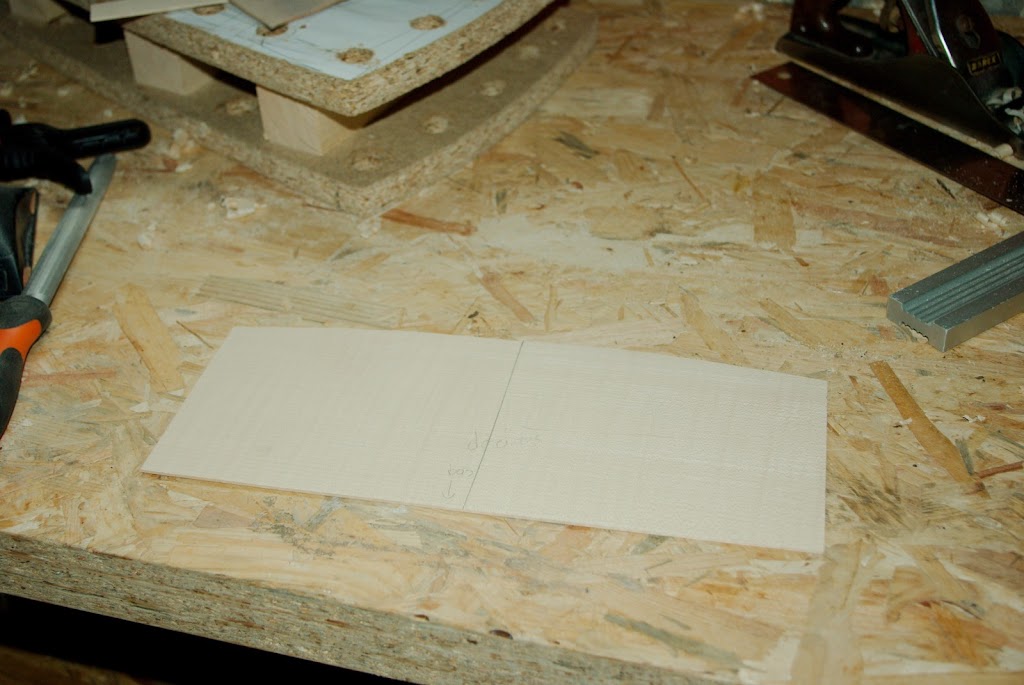
I started with the front side. I cut it with a margin of 3 mm !
Then I humidified the wood and I bent it by pressing it slowly against the bending iron:

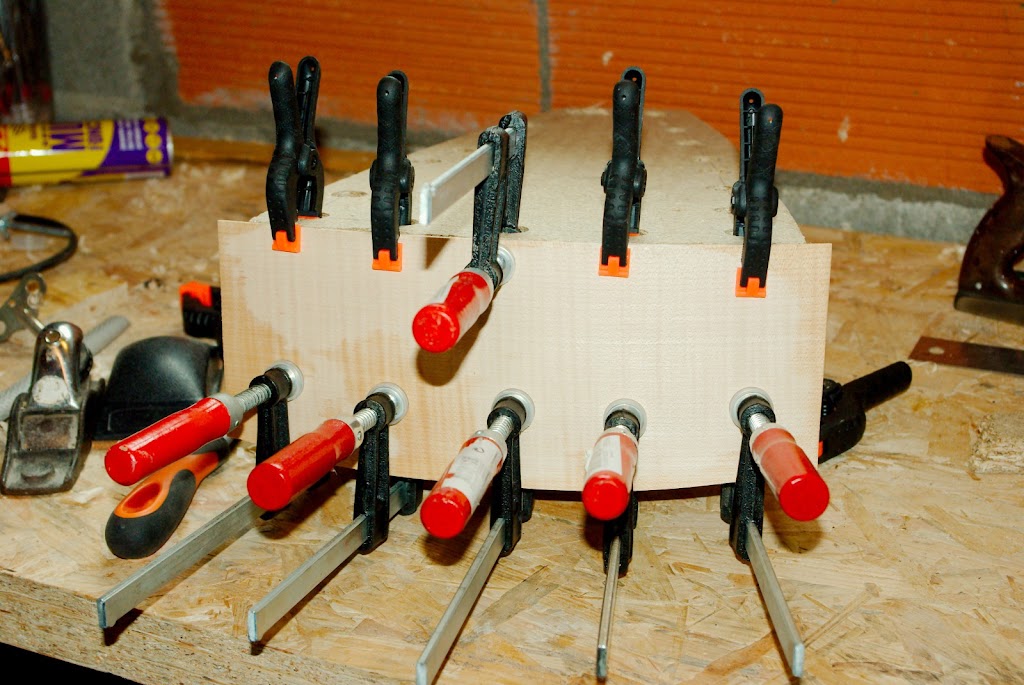
It’s taking something to get a nice curve that fits the mould. After that I putted some clamps so it can not move ! I didn’t put some wood wedges between the wood and the clamps (as you can see on the picture) so I had some marks on the wood. I corrected that afterwards.
Here is the cutting of the 2 lateral sides :


I bent them like the first one :

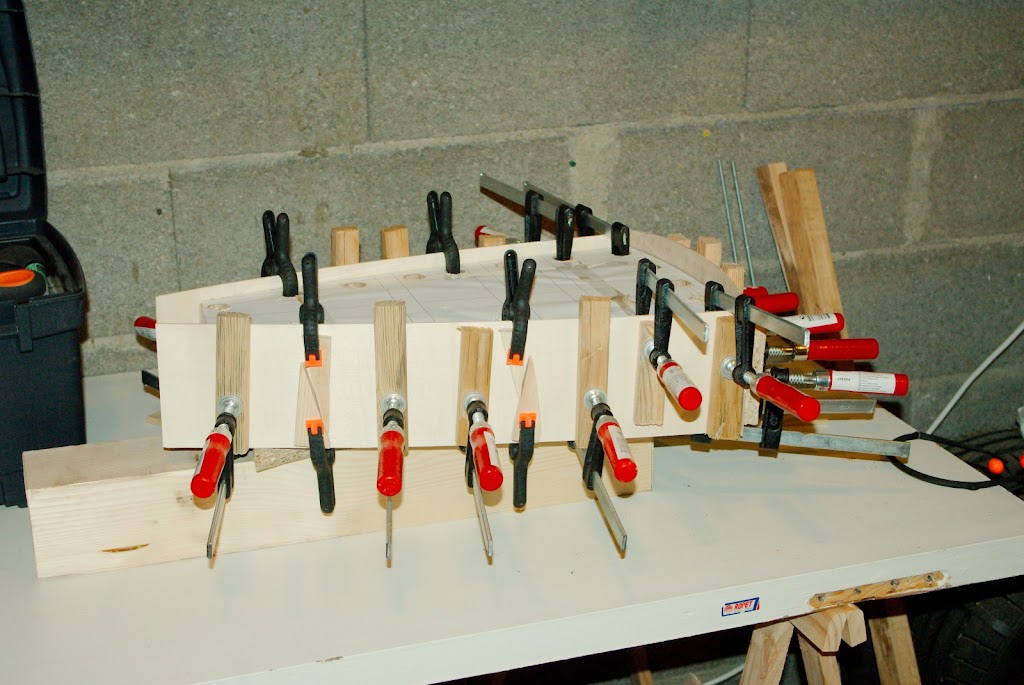
Here everything is in place on the mould and held by clamps :

As I had some more time I started to thin down the lower bridges :


And at last I made the wood piece that will be in the back (on the pegbox side) and where the lateral sides will be glued onto it :

Et voilà ! It good to see the gurdy taking shape a little !