Building a Hurdy Gurdy
Story of a hurdy gurdy - Baptiste Schieberlein
Final assembling
Hello everybody!
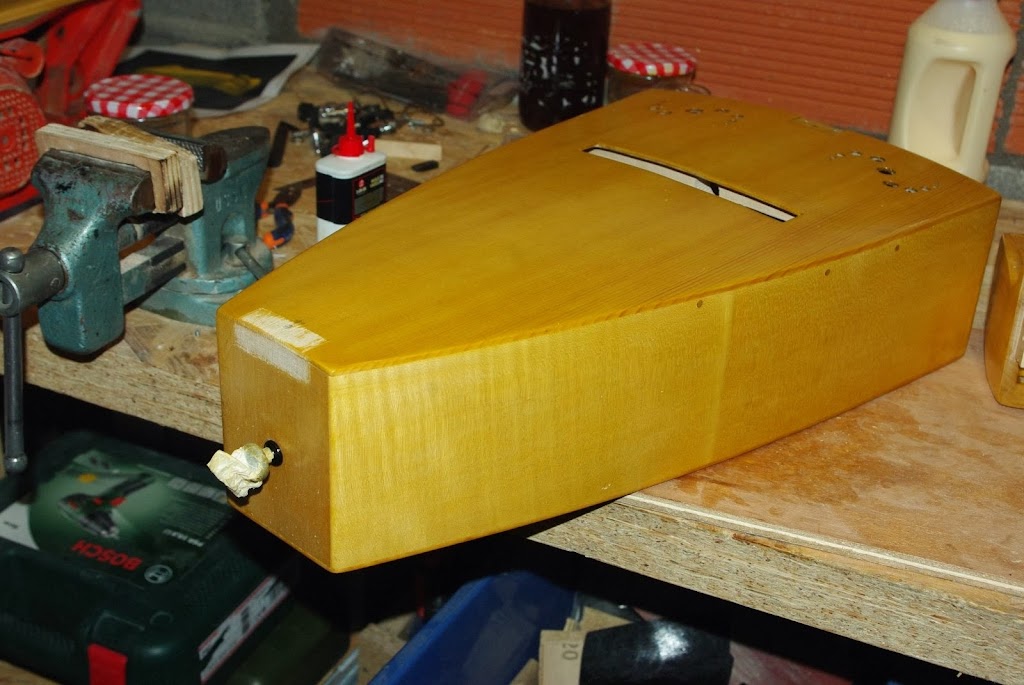
To continue my last post here is the hurdy-gurdy after 8 coats of French polish and 1 final coat of preserving polish called “popote” in France.

I then started to assemble the hurdy-gurdy. In order to do that you have to remove the varnish from the places where the pieces are glued together!
I started with the head. I put some masking tape in order to delimit the place where to scrap the varnish.

With the blade of a cutter and a knife I scraped the varnish and I tried not to go over the limit.

The result:
Then I glued and screw the head.

Here I did the same with the tail piece:

I took advantage of the drying to put the mechanical pegs on the hurdy-gurdy head !

I scraped the varnish in order to glue the keyboard.

The keyboard is glued and it is drying!

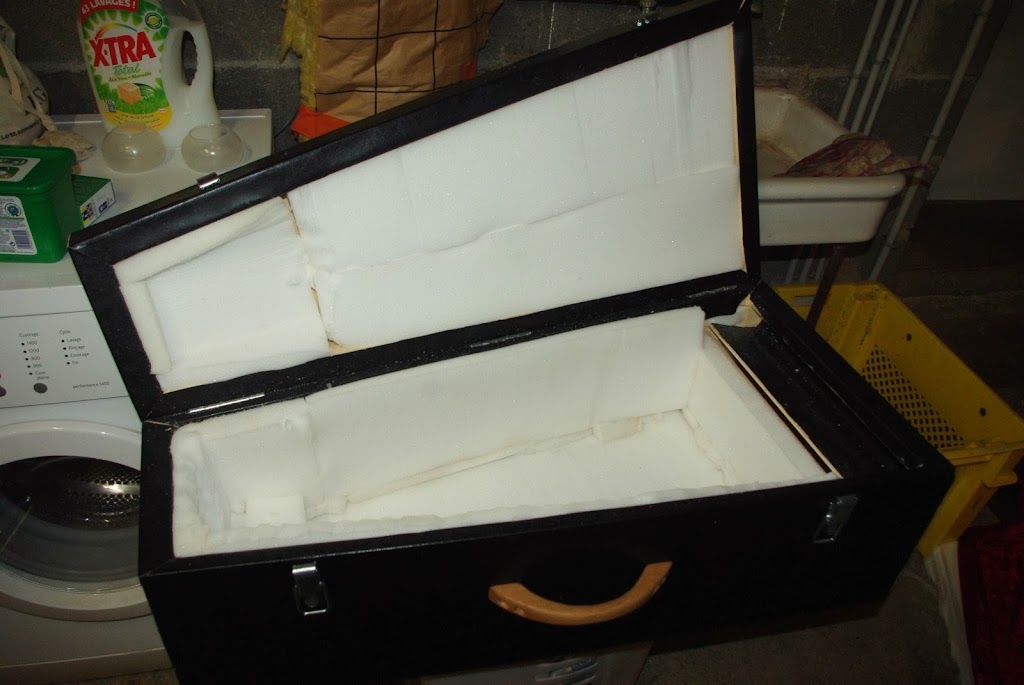
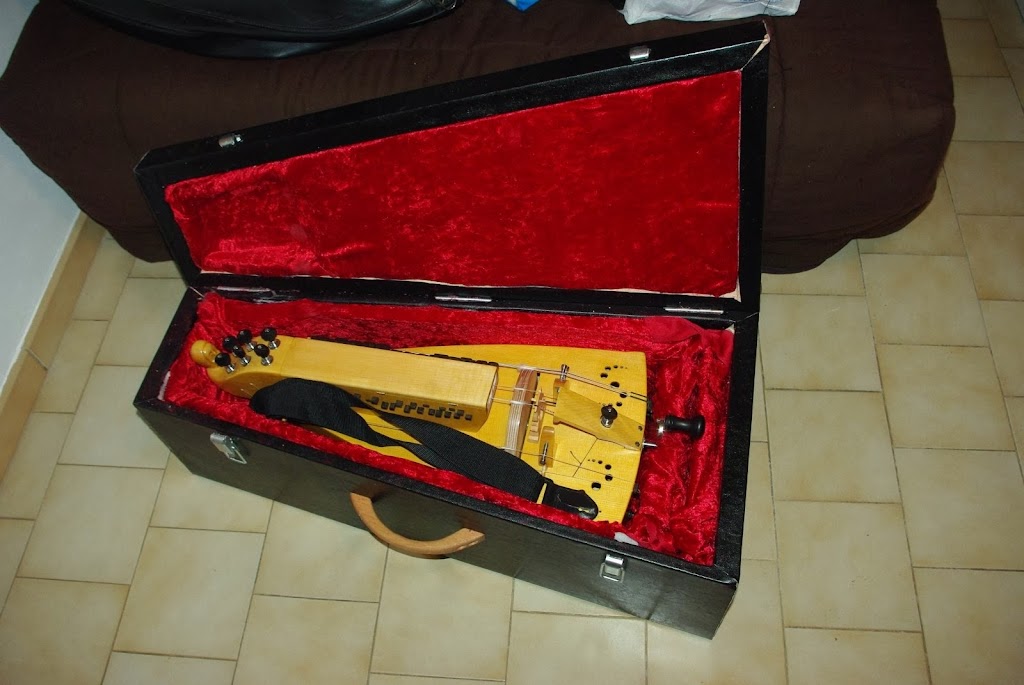
I also built a case using plywood and foam. I didn’t take many pictures. I glued some artificial leather on the outside and red velvet on the inside!
Once the keyboard was correctly glued on the soundbox, I attached the lid onto the keyboard using 3 little hinges:


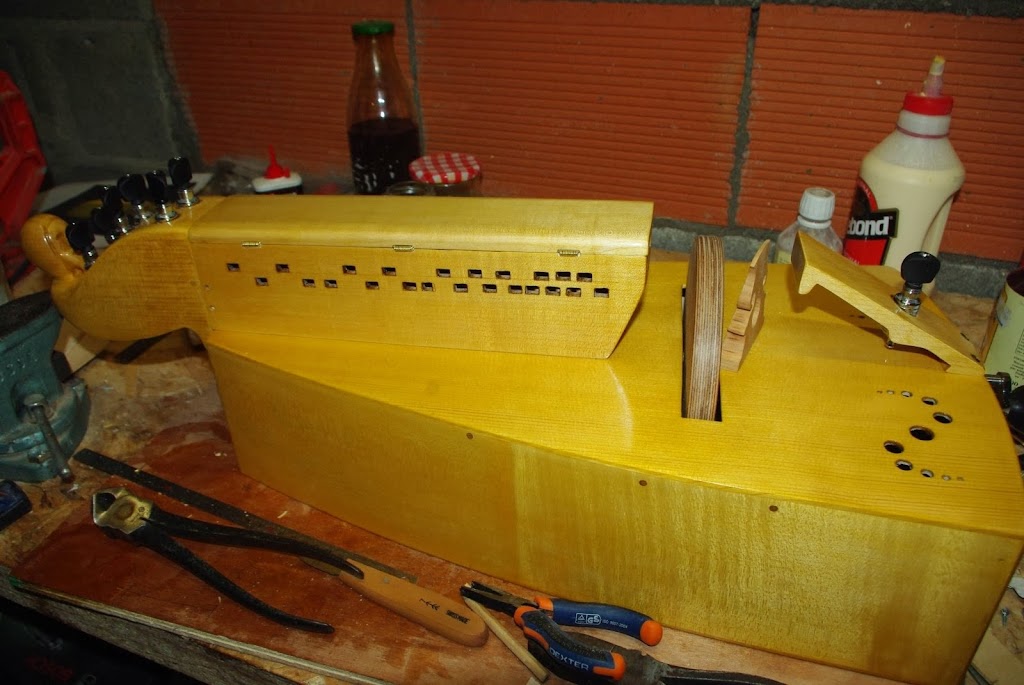
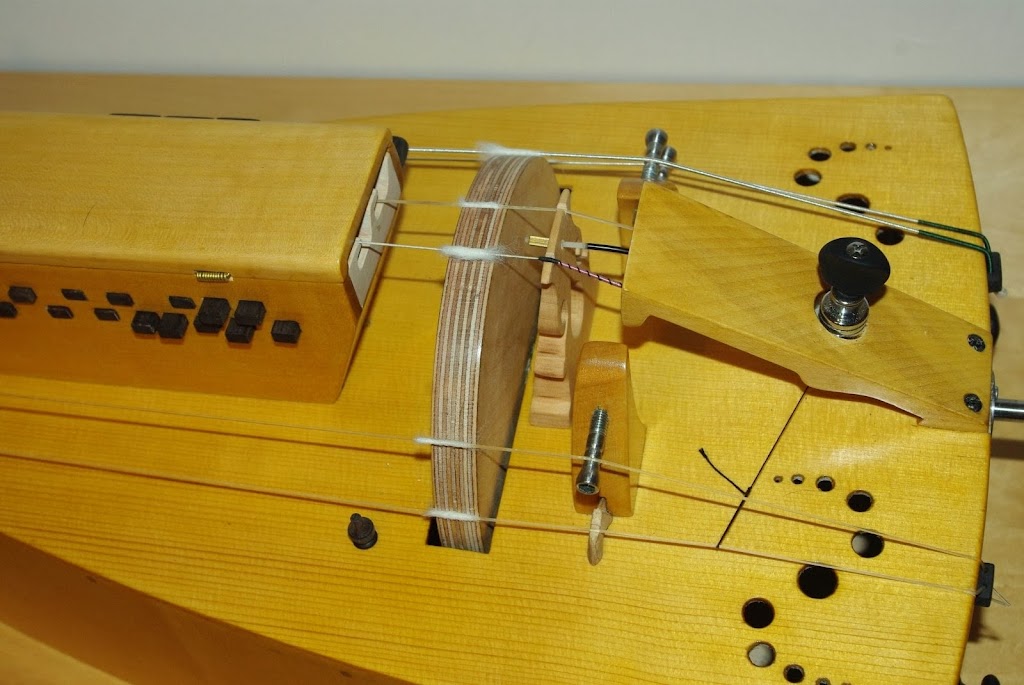
Here I’m gluing the 2 bourdon bridges:
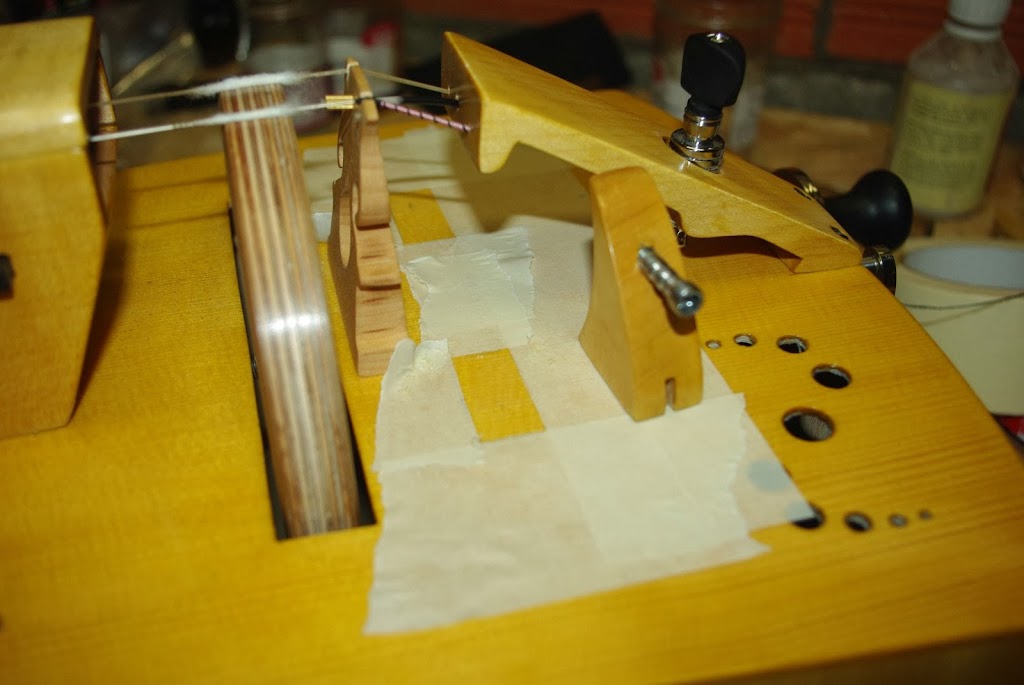
After that I put all the strings in place (but I didn’t take pictures because I was so impatient to see the result).
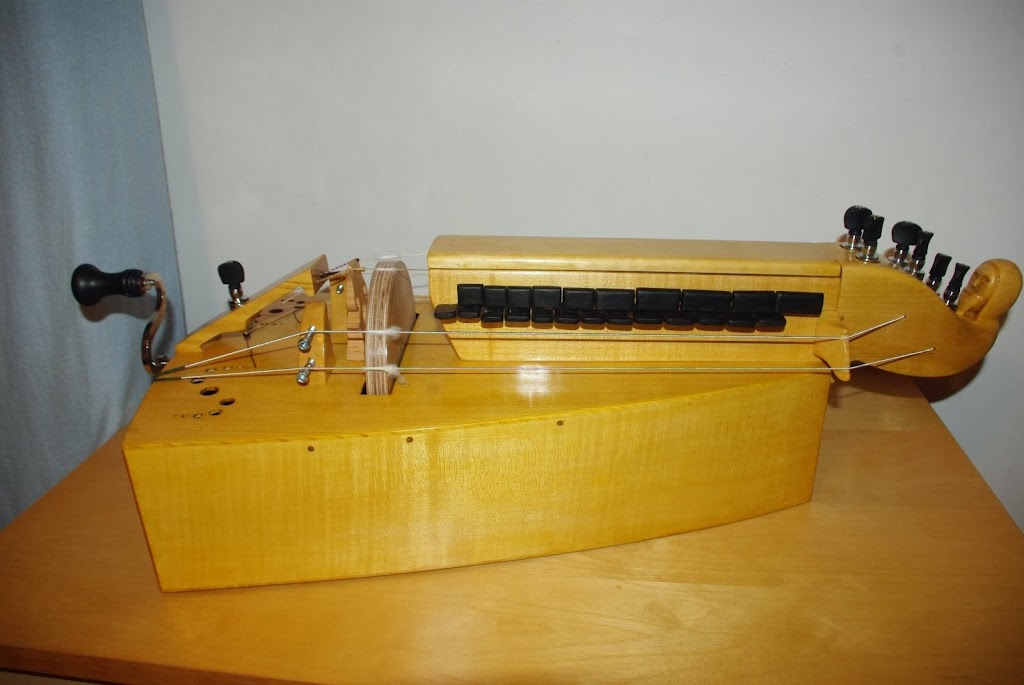
Here are some pictures of the almost finished hurdy-gurdy (I still need to put the resonance strings in place and to build the wheel cover):


And one last picture of the hurdy-gurdy in its case:
It is starting to make some sounds. I played a little bit on it, but it still needs a few hours of adjustments!!!
I will post a video when the sound is a little more audible!
Bye!