Building a Hurdy Gurdy
Story of a hurdy gurdy - Baptiste Schieberlein
Building the pegbox and stating the varnish
Hi everybody!
Today we will see how I made the head and also the start of the French polish!
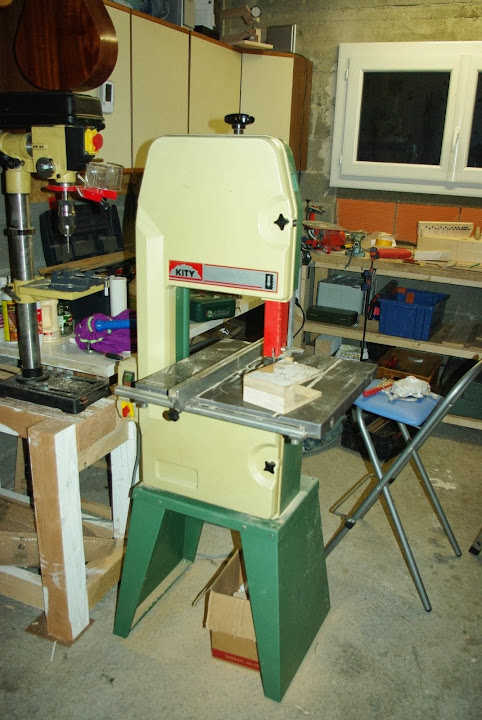
But before starting let me introduce you a newcomer at my home: A Kity 613 band-saw that I will use from now on
Let’s start with the head. I took a wood cut of 150*100*100mm. I hollow out the bottom of the head with a circular saw (I didn’t took pictures while doing it because I didn’t do it at home).

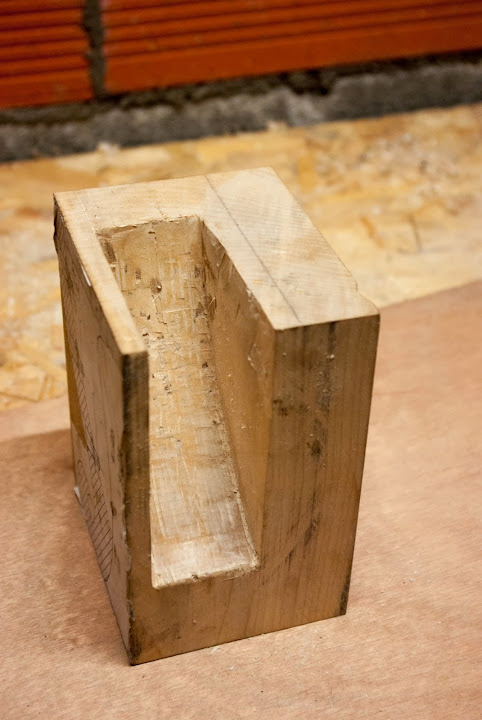
After that I used my new band-saw to cut the outlines.

I drilled the peg holes using a lot of little wedges in order to have the holes in the correct axis.

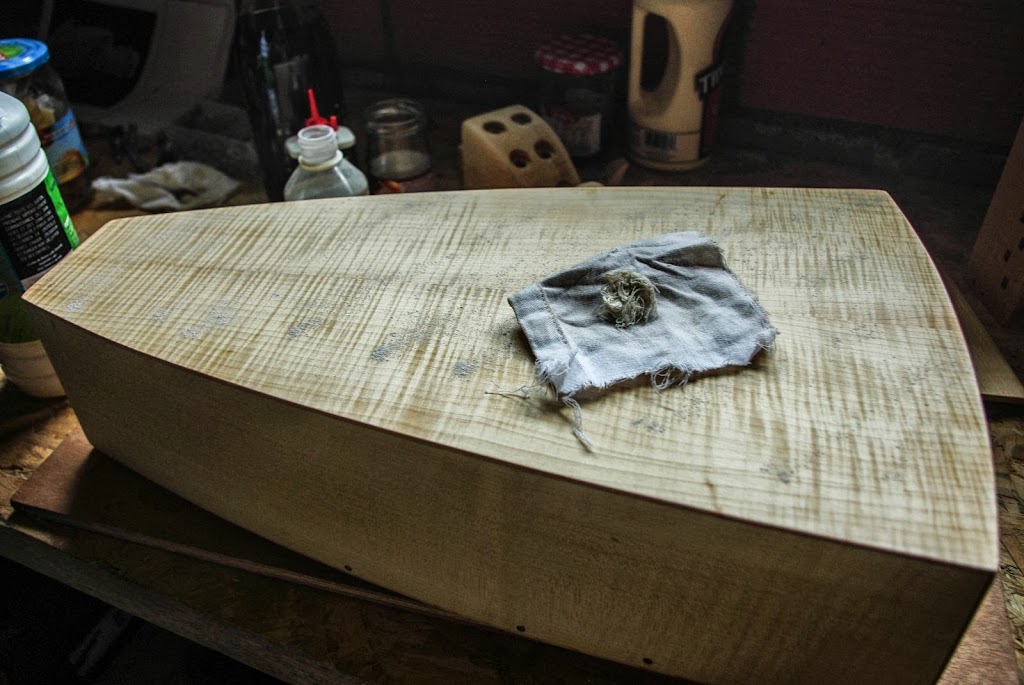
I wanted to make a carved head like traditional hurdy-gurdies. But as I never did any wood carving before, I thought that I will try to make something not too ugly, if it is ok I will keep it, otherwise I can just cut the end of the piece!


I am still far from real carved hurdy-gurdy head, but I still very satisfied for a first time so I choose to keep it!

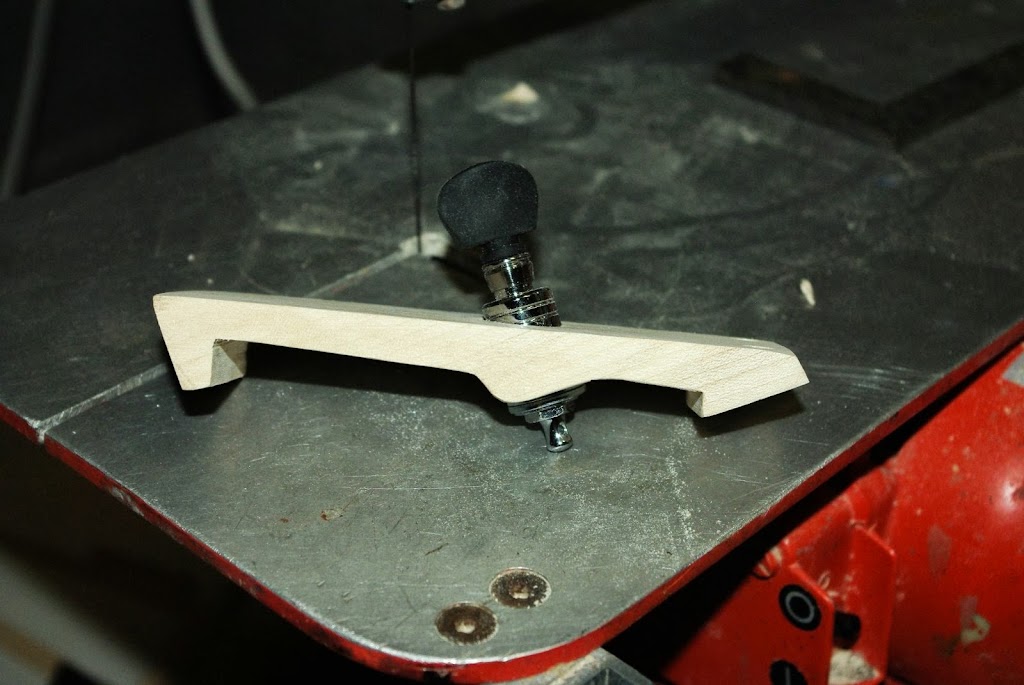
After the head I prepared and cut the tailpiece:


The tailpiece once finished:
Afterwards I could start the sanding of all the pieces of the hurdy-gurdy. I started with grit 100 then 180, and 500 and at last 1000. (I didn’t take picture as I thought that it wasn’t very interesting to see some dust).
Once everything nicely sanded, I put a linseed oil coat on all the pieces and I left it dry.
After that I had to put a wood sealer. I sprinkled all the pieces with some pumice powder, and with a rubbing pad lubricated with alcohol and linseed oil I rub the whole surface by making circles:

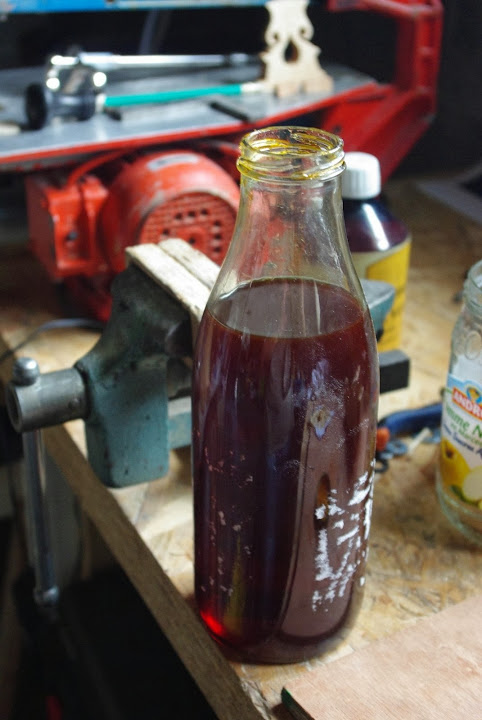
I also prepared a bottle of shellac: I put shellac flakes to about a third of the bottle and I filled the rest with 95° alcohol. After a few days here is the result:
For doing the French polishing I used a rubbing pad that I filled regularly with shellac and I also put a drop of petrolatum oil so the pad will glide nicely on the wood.

After one coat of French polish:

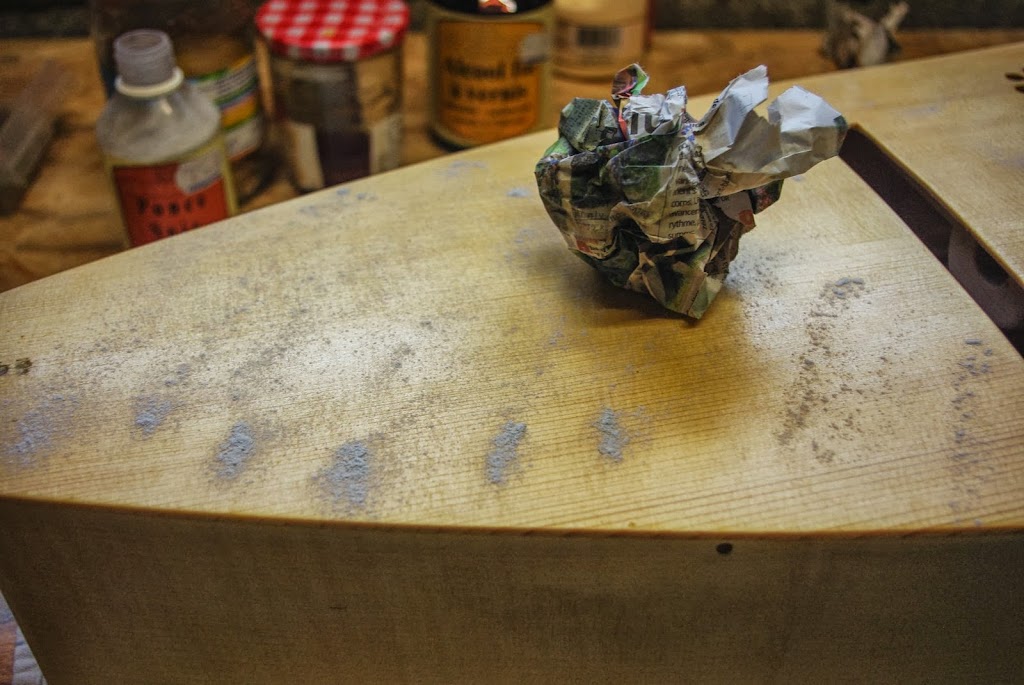
Once the first coat as dried, I sprinkled the hurdy-gurdy with some pumice powder again and I rubbed it with some newspaper put into a ball in order to level out the varnish.
That is all for today, I still need to put 7 or 8 other coats of shellac… and then I will be able to glue everything together!
To the next post!