Building a Hurdy Gurdy
Story of a hurdy gurdy - Baptiste Schieberlein
Building the keyboard - part 2
Hello everybody!
I didn’t post for quite some time, although I made a lot of progress! This post will then be little longer but less detailed than the other.
Let’s continue with the keyboard!
I have made a slot where a small wood piece will be put in order to support the melody strings’ bridges:

I also cut the front of the keyboard:


Here are all the pieces of the keyboard before assembling and gluing them:

And here is the keyboard before gluing it:

The gluing:
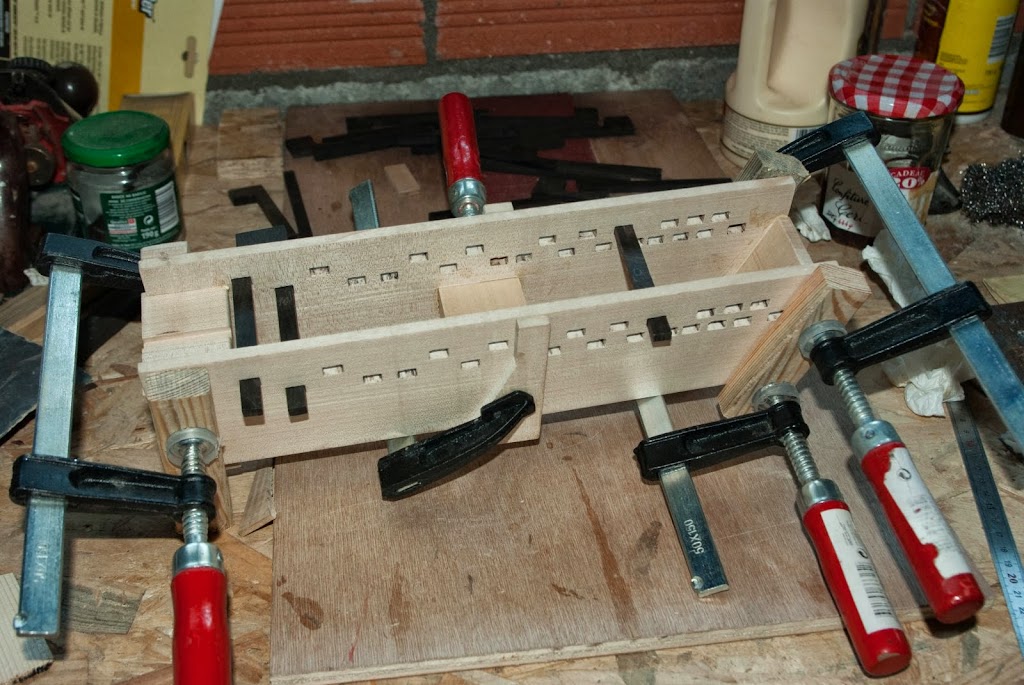
And here is the result:

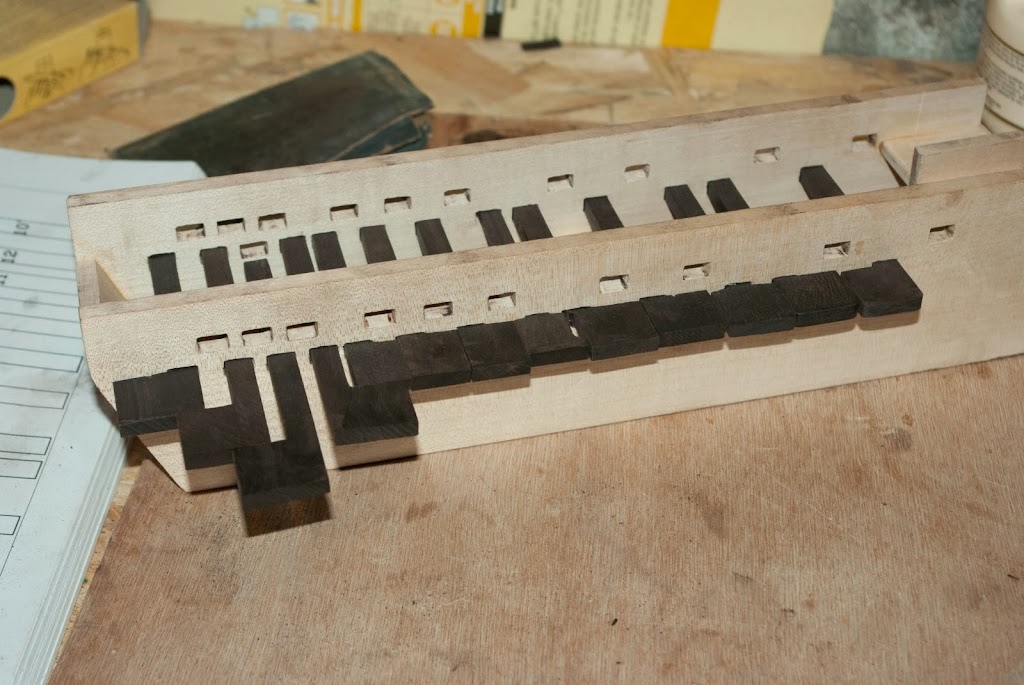
Here we can see all the keys:

After that I had to adjust the width of the keys so they all could be side by side:


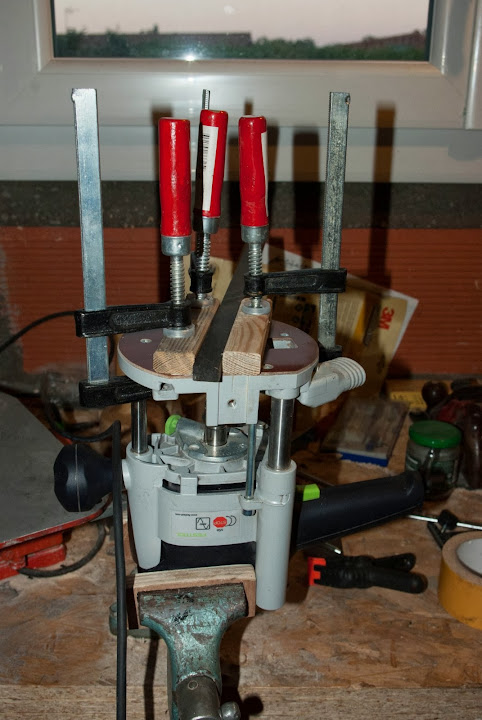
Them I continued with the front of the flat and sharp keys. I took a 1cm wide square cut of ebony based, and I made a 5mm wide slot on one side using a router. For that I transform my router in a small spindle moulder (I will look at how to make a router table another time).
The wood piece once slotted:

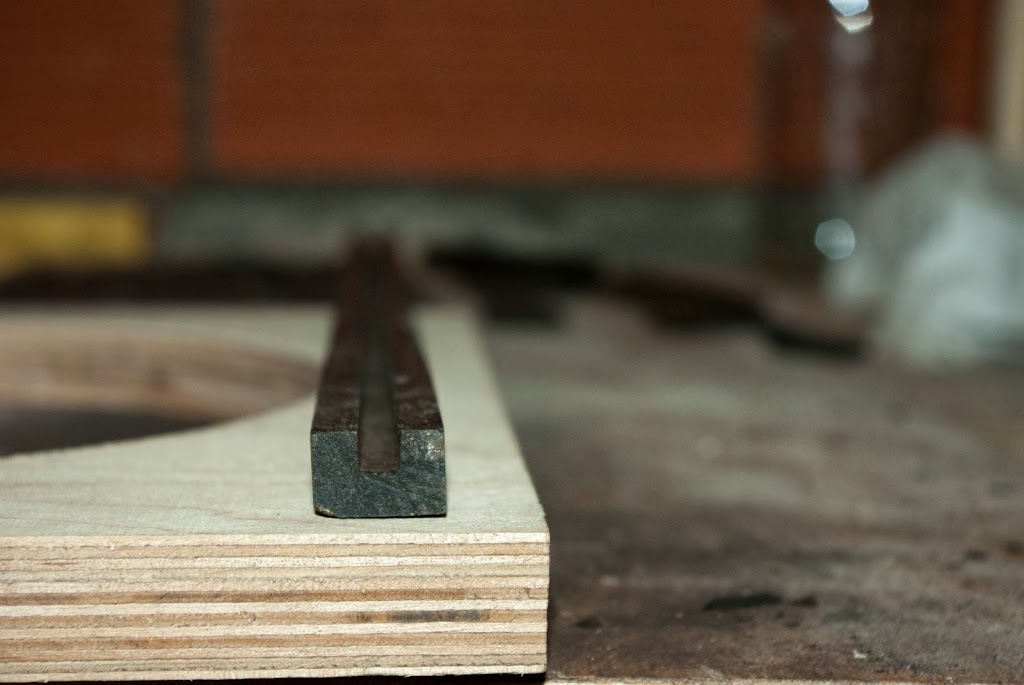
I just realise that I didn’t took any pictures of the flat and sharp keys once finished. I will take one soon! I cut the ebony square cut in pieces of specific width so keys can rest side by side. I then glued the key on the pieces using the slot.
Once the keys finished I started to make the sautereaux. It is a very repetitive task (about 50 sautereaux to do)! I cut the sautereaux in an already made piece I bought and also I cut the edge in order to make them a small foot:

I cut the corner using a knife and I force them through some holes I drilled in a metallic piece.

Then I drilled the key with a bit of 3.8mm.

Here is the keyboard with the first row of sautereaux. We can also see on the side 1 of the 2 bourdons nuts:

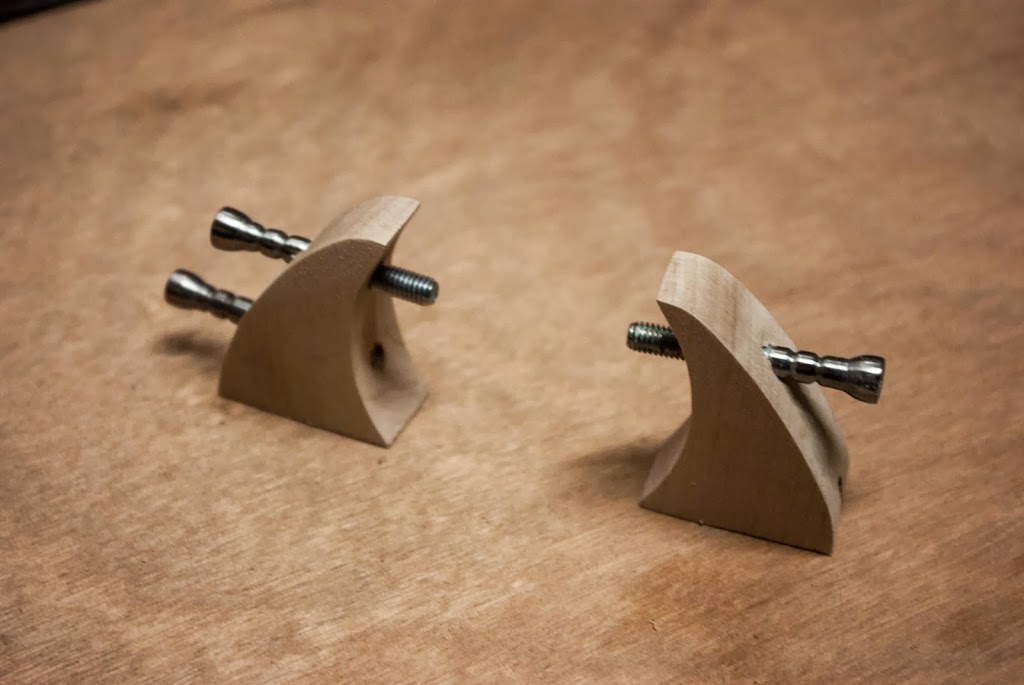
I also build the 2 bridges for the bourdons. I used the screw I made a few month back. That way I can have adjustable bridges (I can adjust the strength of the bourdons on the wheel).
Here you can see the hurdy gurdy with the key board and the bridges put in place (they are not glued yet as I will do the gluing once I did the varnish).

It is all for today. I will write another post during this week because I have almost finished the head of the hurdy gurdy!
Here is a bonus picture of where I do all my work:

Bye!