Building a Hurdy Gurdy
Story of a hurdy gurdy - Baptiste Schieberlein
Building the keyboard - part 1
Hello everybody !
After a month and a half where I didn’t had a minute for myself, I can now continue the project!
I started to work on the hurdy-gurdy keyboard!
I ordered two guide cut by laser. Here is one with also one of the sides of the keyboard :

I tapped the guides and the sides of the keyboard together with double-side tape :

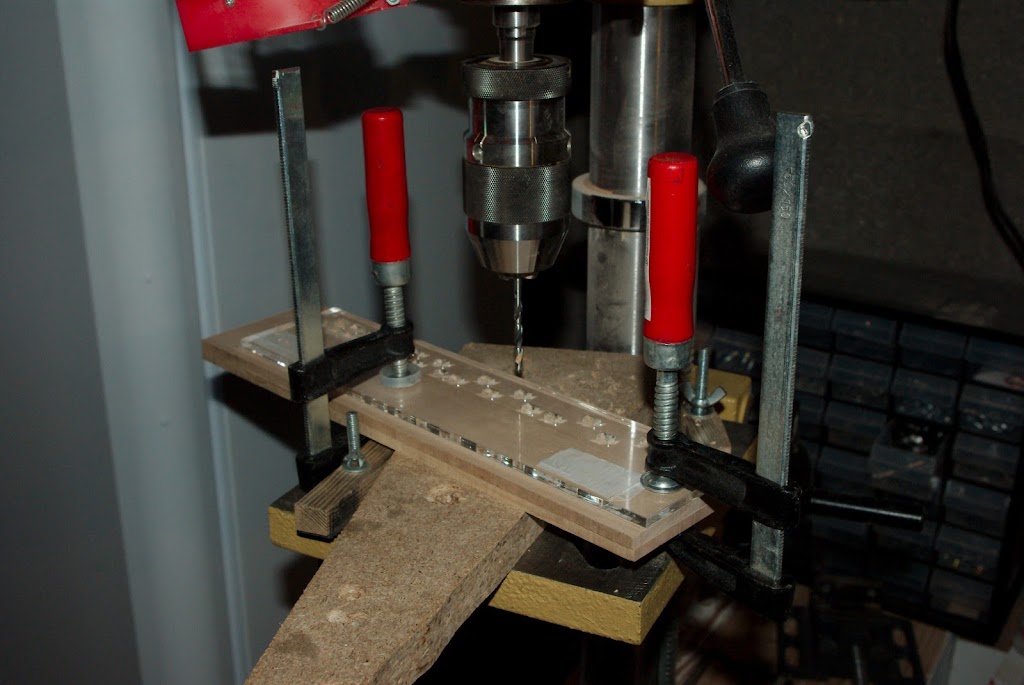
I drilled holes using the guide:
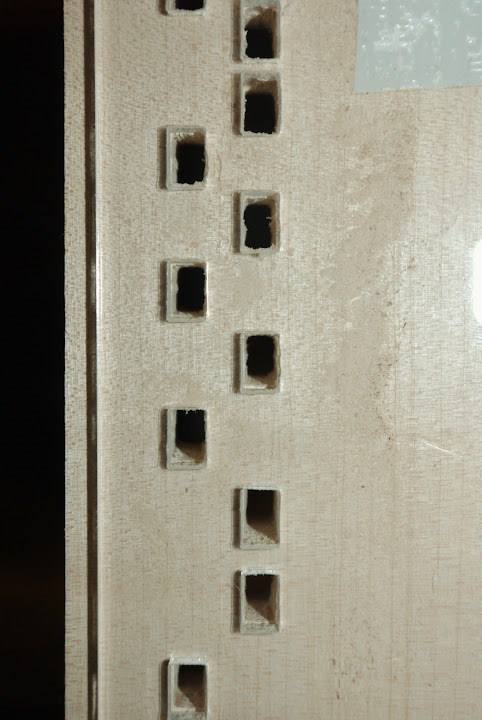
After that I took some small rasps and files in order to make rectangular holes from the ones I drilled.
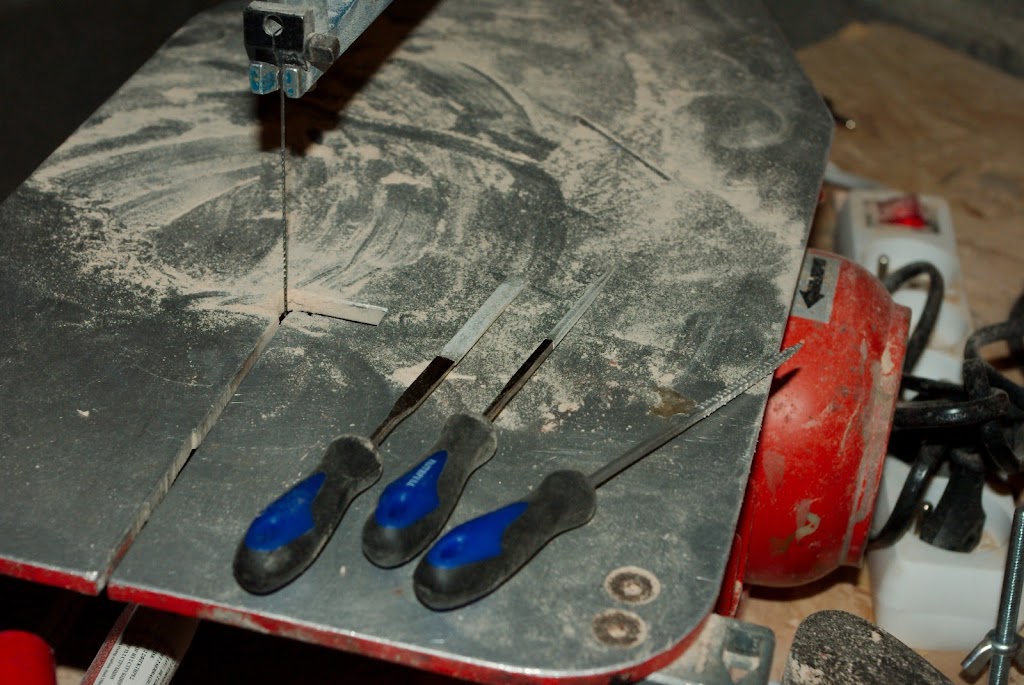
It is very time consuming to get something really precise. Anyway, I will have to do some finishing when I will put the key in them so I didn’t spend days in order to get something perfect.

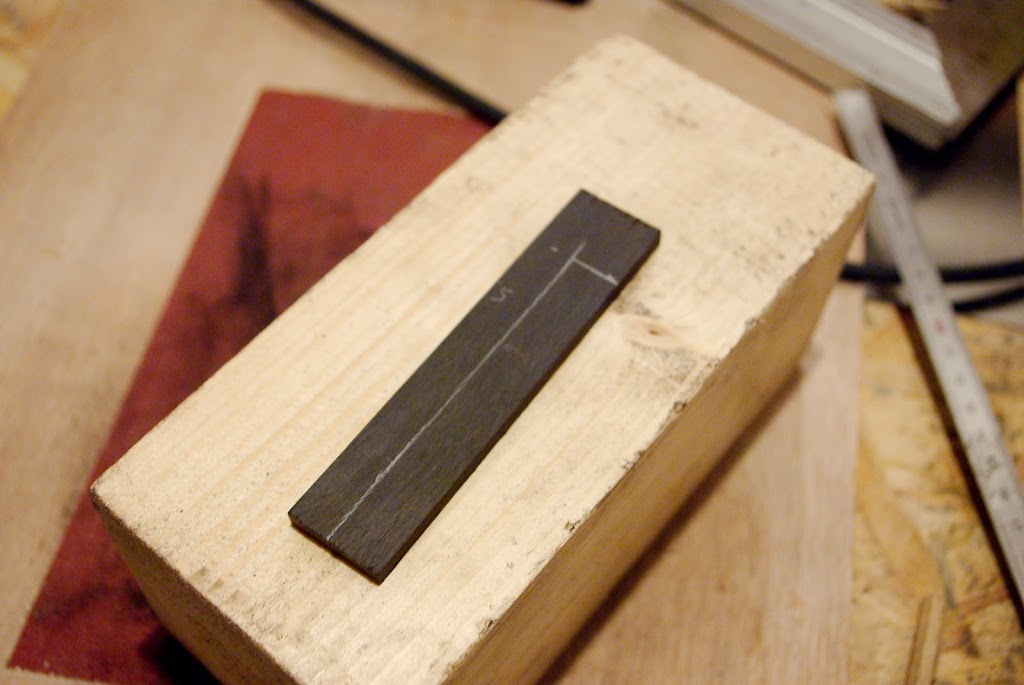
After that I took the ebony pieces I ordered to make the keys. The pieces’ sizes are 5*24*120mm. However there was a small problem: some pieces had a thickness between 5 and 6mm between each edge. I don’t know if I got them like that or if the wood has dried a bit. Next time I order wood, I will carefully check everything! I had to make these pieces flat again. I then thought of a small assembling in order to make the work using a router.

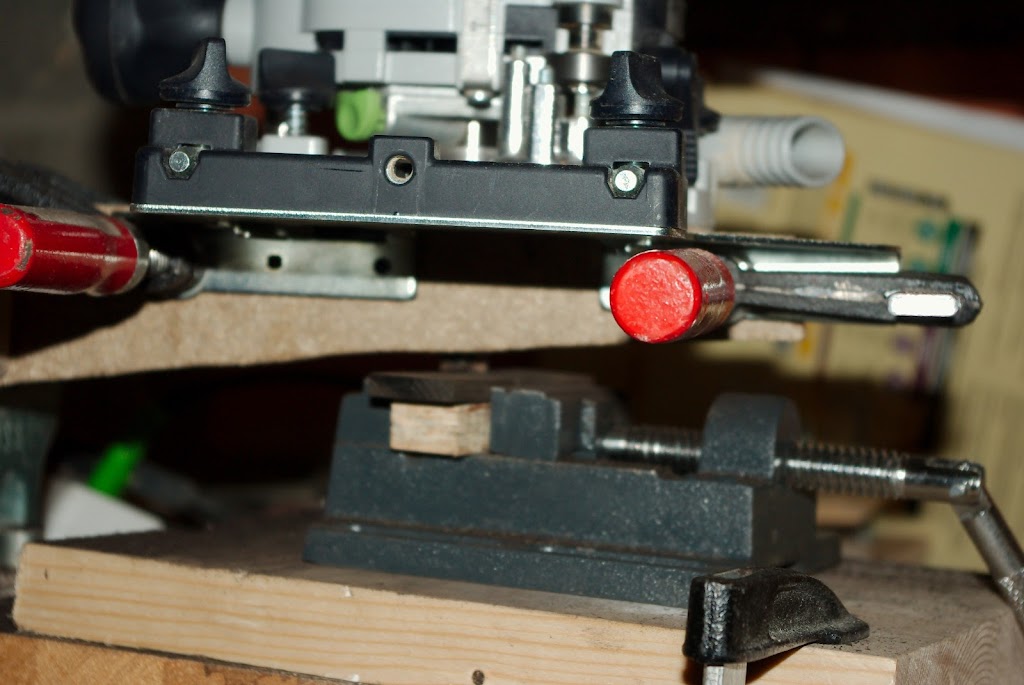
I put the ebony piece on a small drill vise.

I hanged and clamped the router so I could pass below with the vise.

Here you can see the vise and the router (it is a bit blurred):
After that I cut the keys. The left part is used to make the diatonic keys and the small right part is used to make the flat and sharp keys.

Right now the keys’ sizes are about 5*10mm. I have to get them to 5*8mm and the edges have to be perfectly straight. I used the router again in order to do that. I took a straight piece of wood in which I made a groove of exactly 8mm wide and 8mm deep on one side.

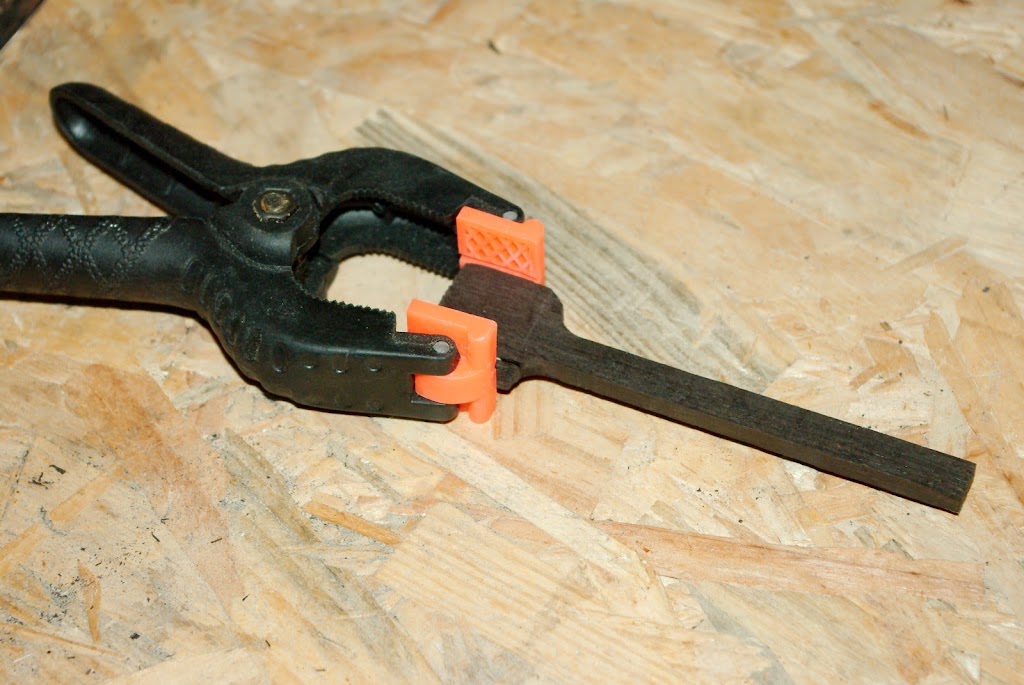
After that I put each key in the groove and clamped it.
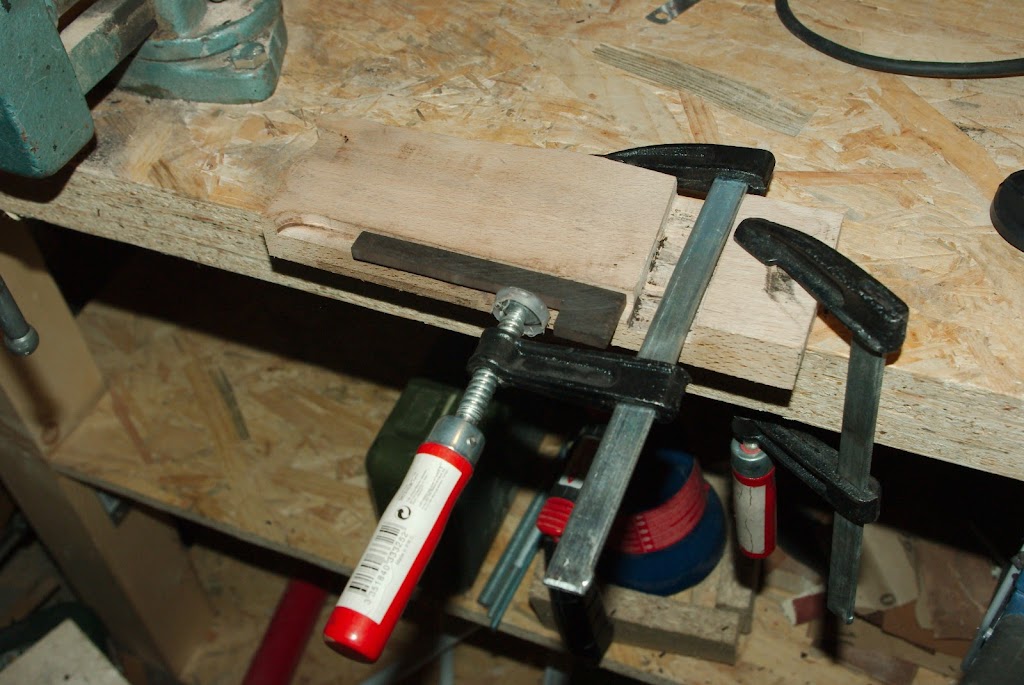
And I used a flush trim router bit in order to have keys of exactly 8mm wide.

Once using the router :
However for one of the key I made a small mistake: I wanted to go to fast and the router splinted a piece of the key !

Right now I have glued the small piece. I will see, if it is not good I will re-order a piece of ebony and make a key again !
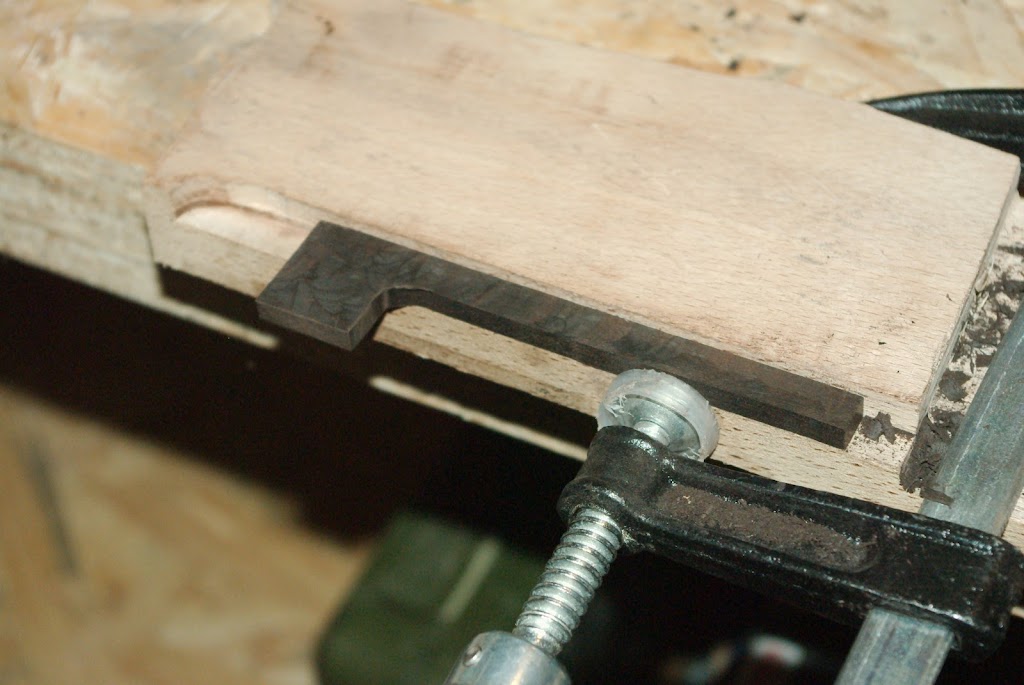
Here is one of the first key going through the keyboard edge.

I still have lots of work, but I am happy to have fully restarted after a month doing almost nothing !
On the 12th of July I went to the “Rencontre Internationale des Luthiers et Maîtres Sonneurs” at Château d’Ars in France. It is a huge traditional music festival where most of the instrument builders are exposing their stuff. I managed to meet almost all the hurdy-gurdy builders and have a good chat with some of them. I now even more motivated and I have tons of ideas in my head!!!
To the next article!