Building a Hurdy Gurdy
Story of a hurdy gurdy - Baptiste Schieberlein
Cutting the soundholes and gluing the pegbox
Hello everybody!
Some update about the progress of the project!
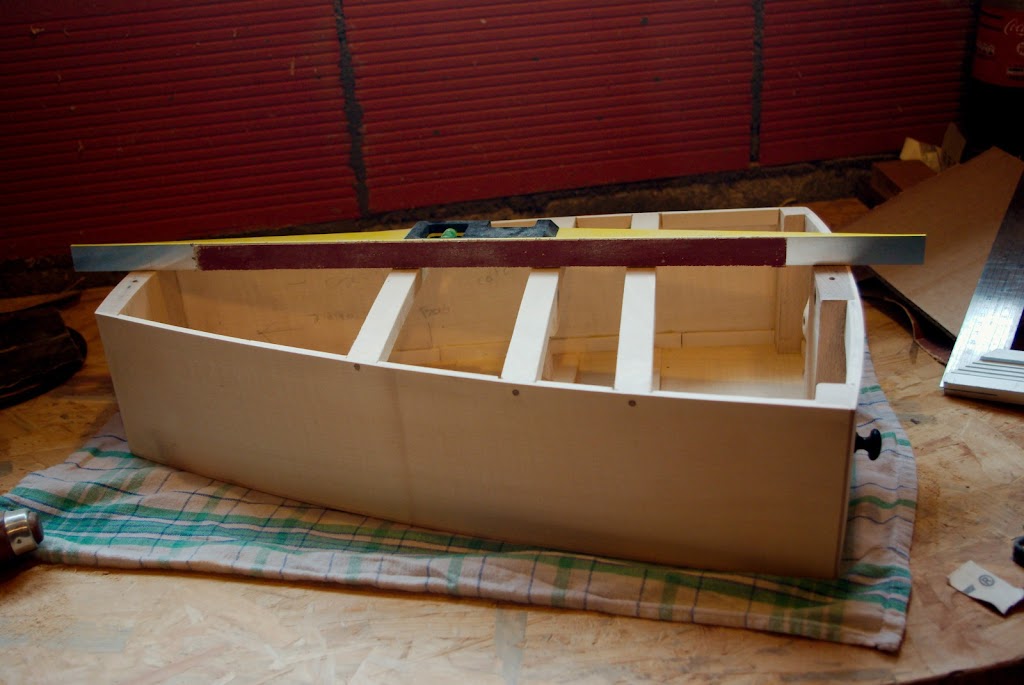
Firstly I had to sand, sand, and … the top of the soundbox in order to be able to glue the soundboard. To be able to sand the support bars I used a spirit level (very straight base). I taped a piece of sanding paper on the base.

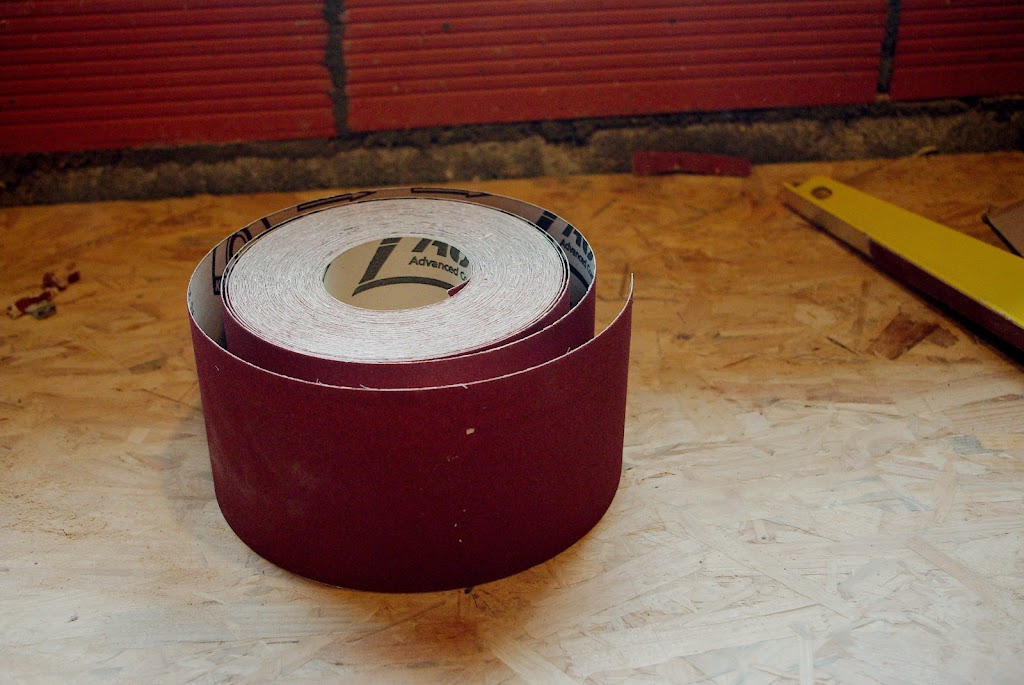
Besides, I can only recommend you the sandpaper sold by Dictum in 25m rolls! It’s really good quality!
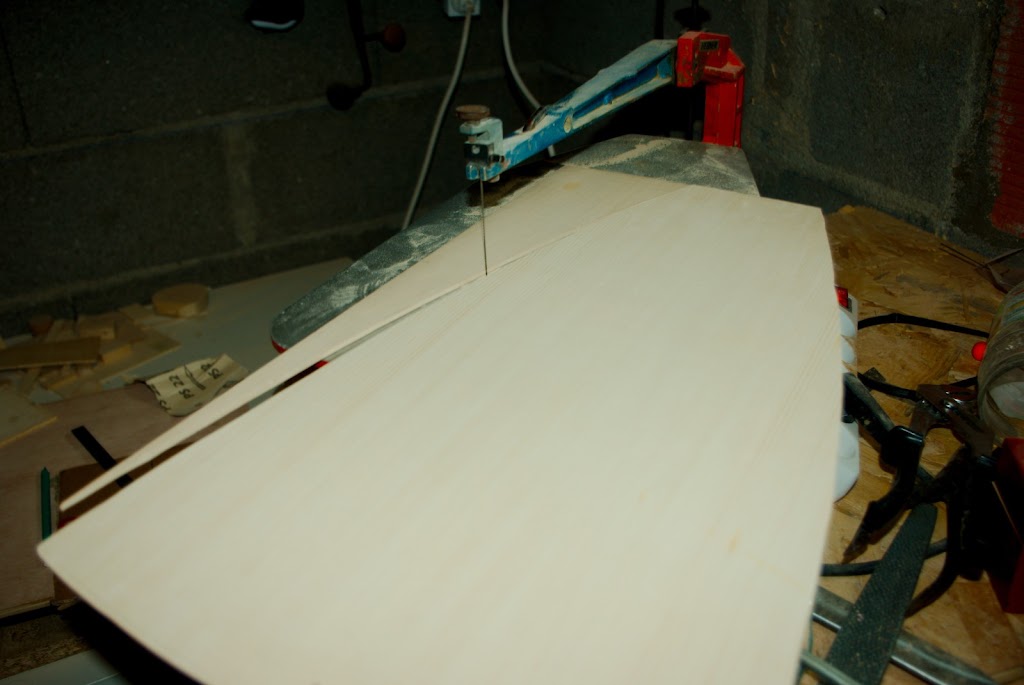
Once I sanded everything, I cut the soundboard with my scroll saw!
I didn’t took a picture but I drilled 2 small holes on each side of the soundboard in order to put a small peg so the soundboard cannot move on the soundbox while gluing it!
I draw the opening on the soundboard where the wheel will go through:


After cutting it:

I’m not very happy as it is not very straigth:
I should have left some margins and sand it after. I caught up with my error by sanding it in order to have everything straight, but now I have about 2-3mm between the wheel and the soundboard where I wanted 1mm. But it is not very serious because you don’t see it too much.
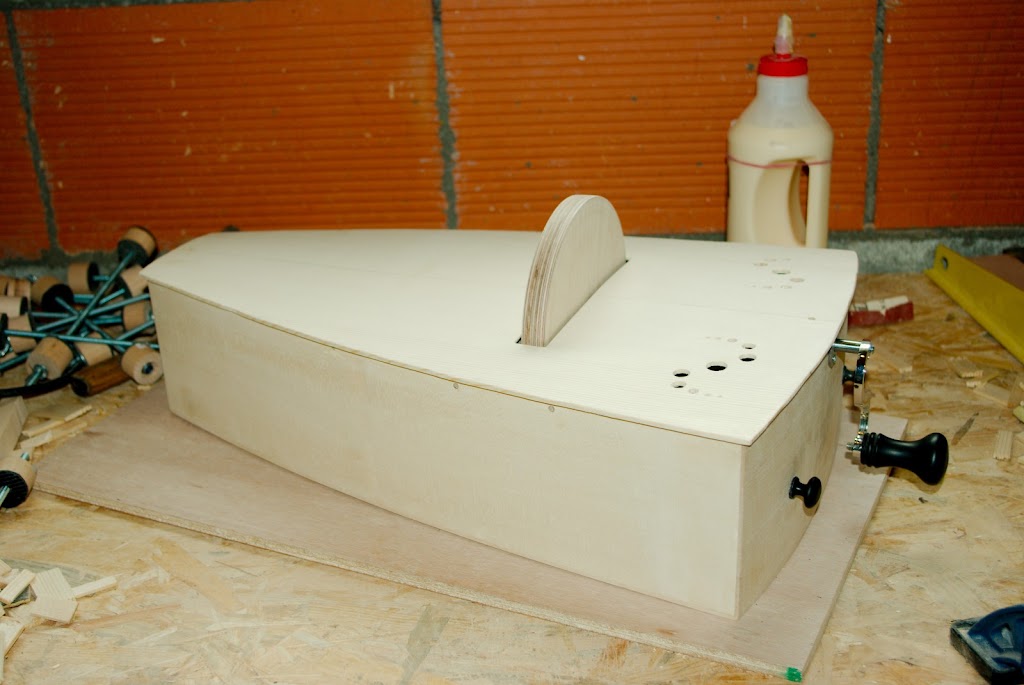
Here is the Hurdy Gurdy with the wheel and the soundboard (you can see the little pegs I was speaking about before, that hold the soundboard).

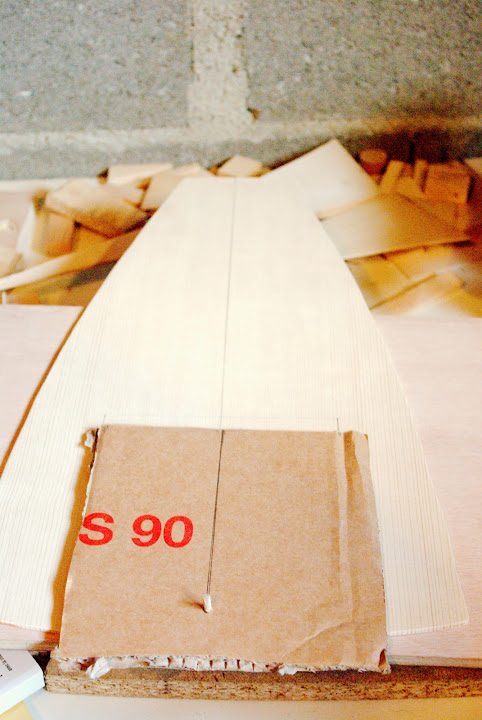
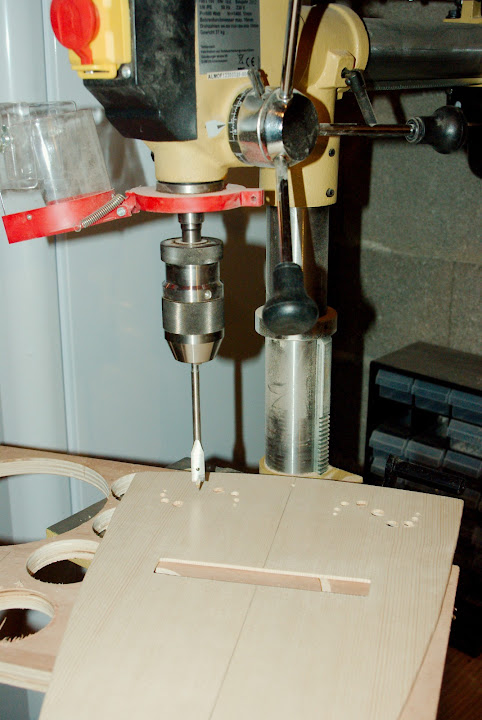
After that I started working on the soundholes! I decided to drill a series of holes on each side of the tailpiece. First I started to make a template, so I could draw the position where to drill!

After that I drill all the holes! (You have to be very careful as spruce is very fragile and can break easily)
The result once finished! (I’m quite happy about the result!)


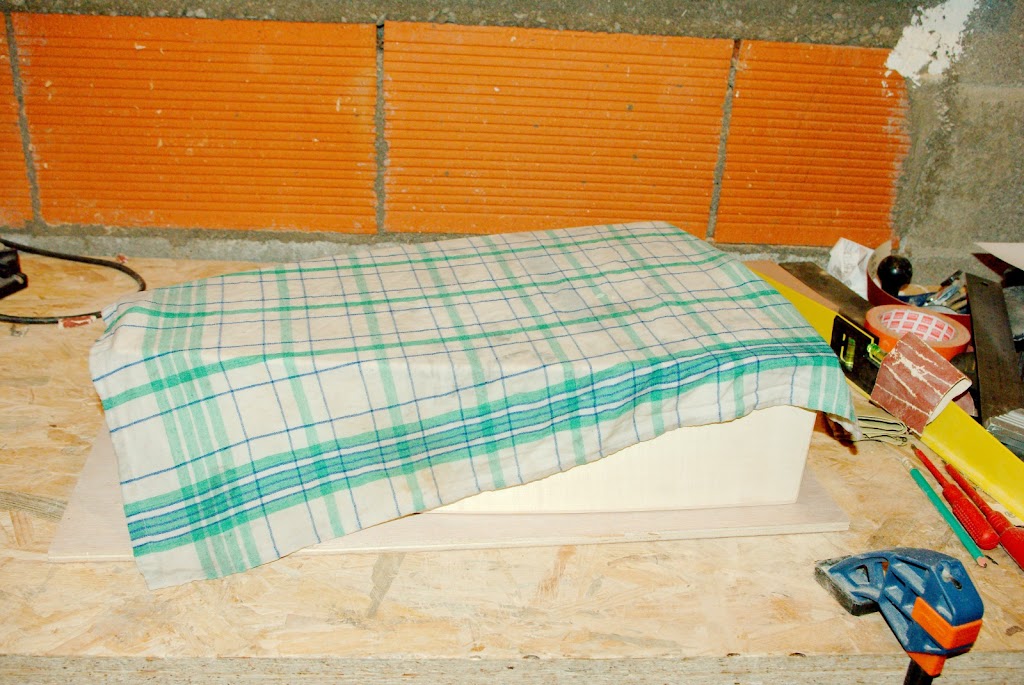
After that I started the bending of the soundboard! I put the soundboard in place on the soundbox, and I applied a wet tower above!
I used an iron to warm the wood!
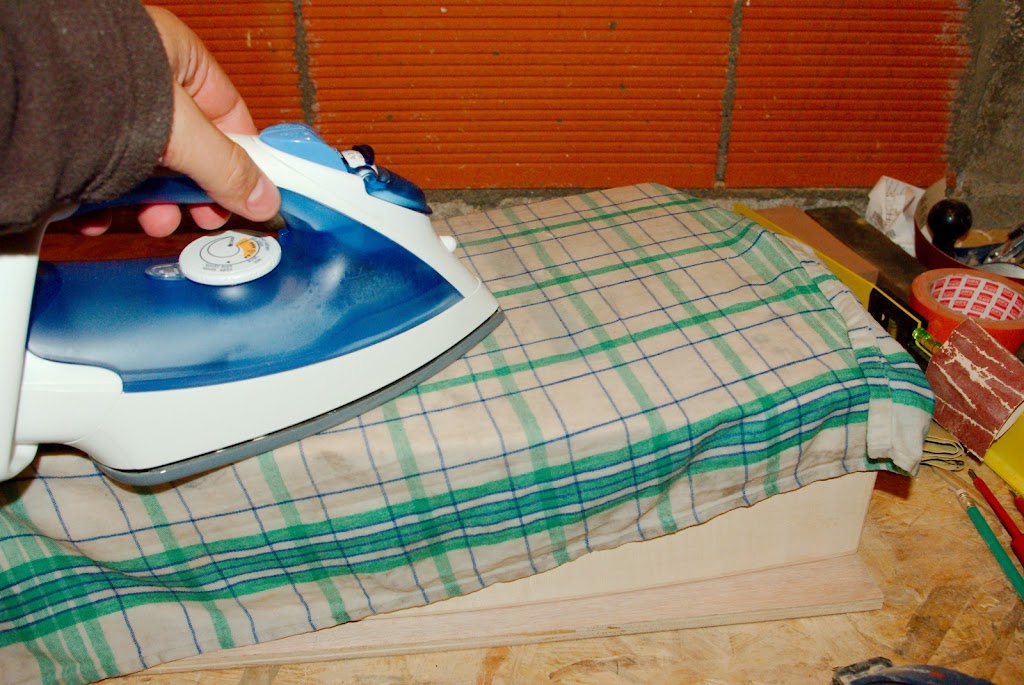
I clamped everything and waited a few days!

Then I glued the soundboard! I didn’t took any picture during the gluing as I was very focus on what I was doing and I had to put all the clamps very quickly before the glue would dry (It took me about 30 min to put all the clamps!).
Here is the result with all the clamps:


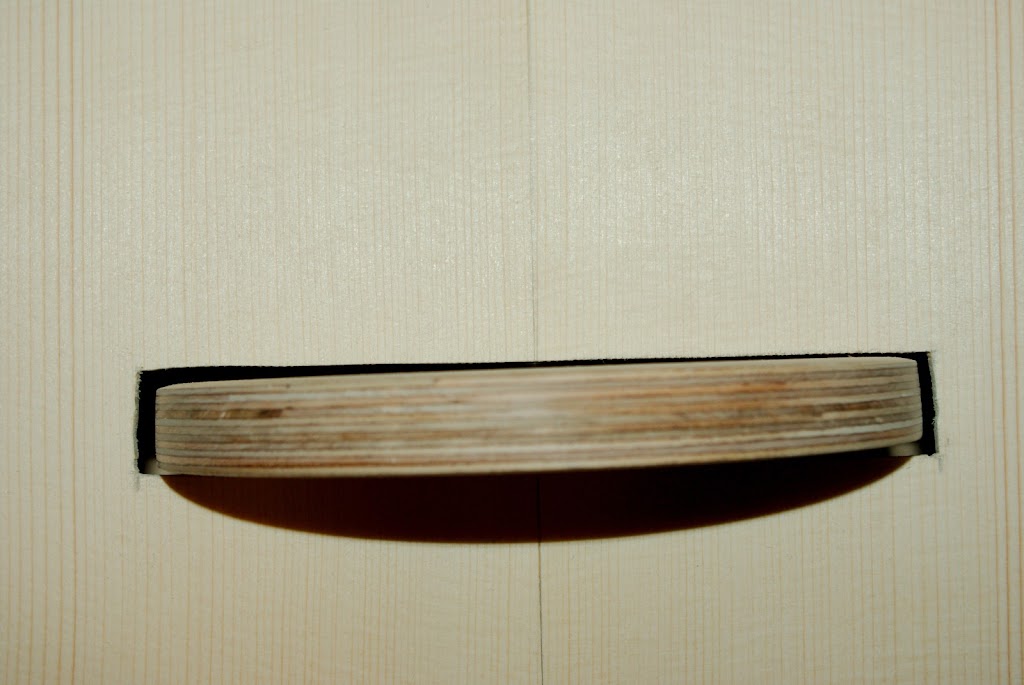
Here is the soundboard almost finished!!!
At last I used sanding paper in order to remove the portion exceeding:


All right! Now I will have to start the keyboard (very hard), the bridges, the tailpiece and also the head !!!
See you soon for new HurdyGurdy adventures!!!