Building a Hurdy Gurdy
Story of a hurdy gurdy - Baptiste Schieberlein
The project starts - Gluing the back
Hello everybody !
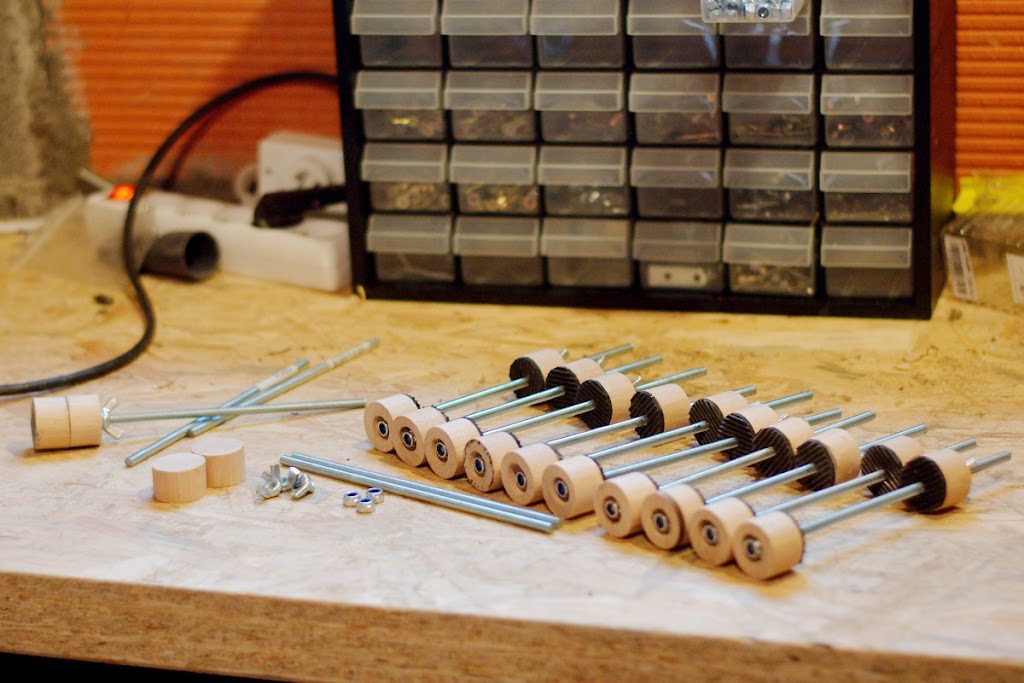
First here is a picture of the clamps I was telling you about in the last post : (You can click on pictures to get a bigger version)
Big news : the wood has arrived this Saturday morning :

I haven't (yet) some huge machines so I ordered the wood already cut to the right thickness !
I didn't resist to start straight away on Sunday :D
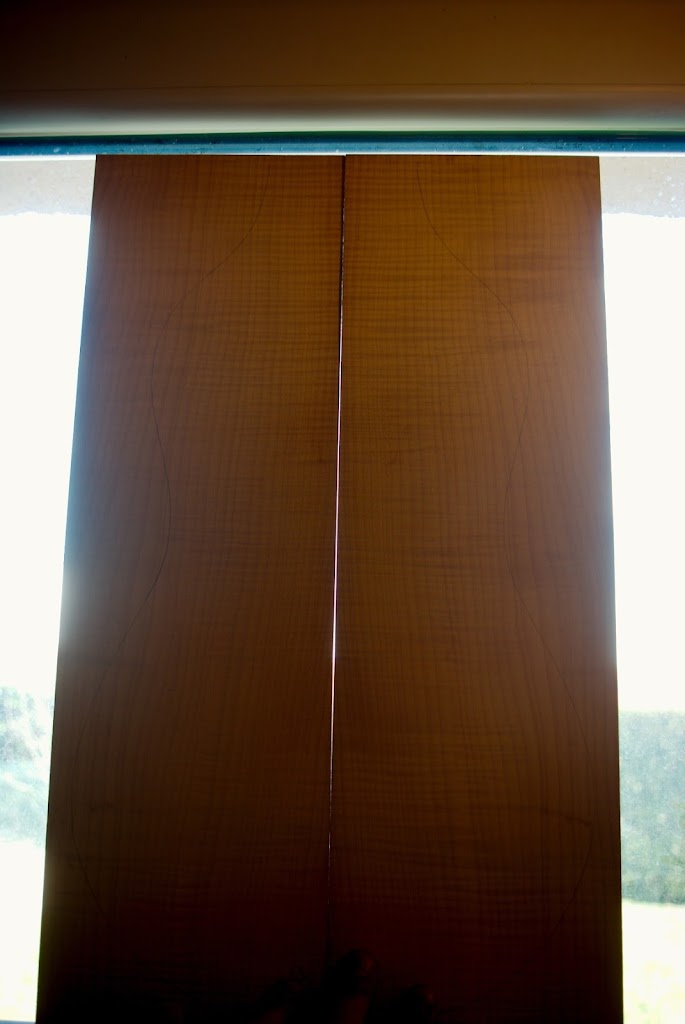
I started by assembling the back. Here are the 2 pieces of the back that are to be glued together.

Here we can see that the 2 pieces are not jointing correctly :wink:
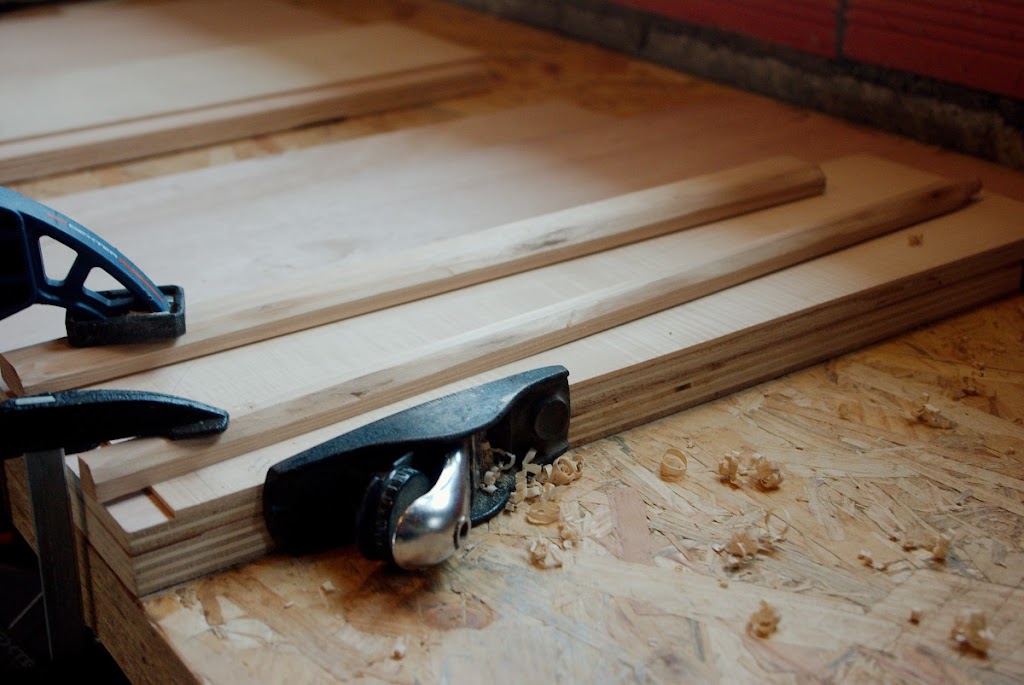
Jointing of the back by using a very straight piece of plywood as a guide for a plane :
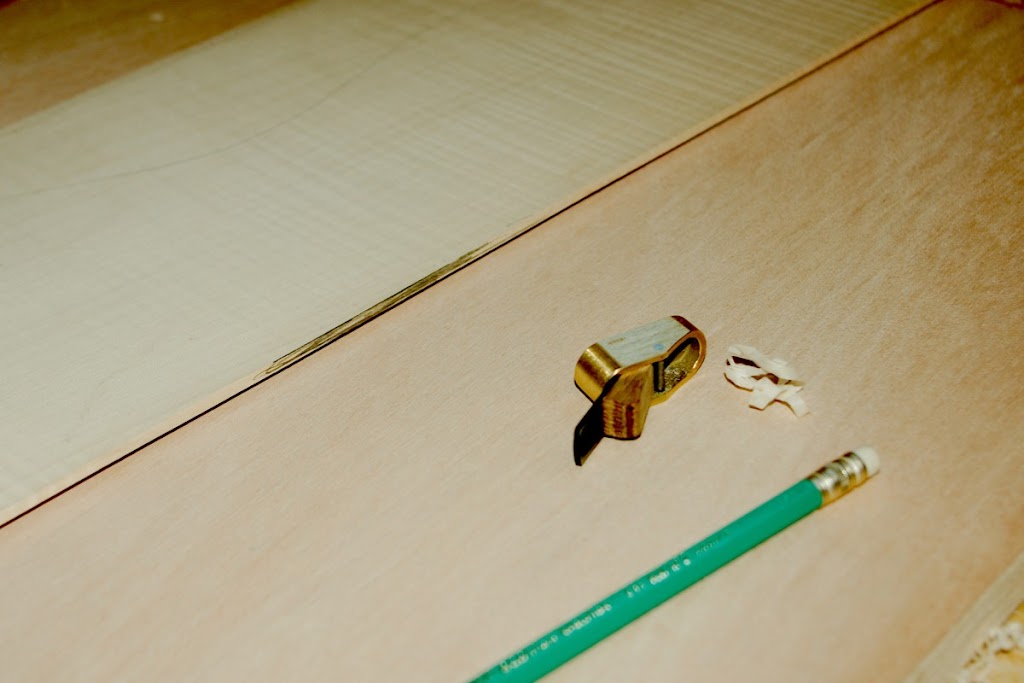
Here I'm finishing with a very small plane and I'm using a pencil in order to locate the areas where I have to take our some wood :
Here is the result after 3 hours of work :

Blank assembly before putting any glue. I'm tightening everything with some triangle-shaped wood blocks :

The titebond glue has come to save me. I put glue on both edges.
We can also see that I put a sheet of paper below so I don't get any bad surprise once it's dried :

I put into place the 2 pieces and the triangle-shaped wood pieces. First I didn't tighten very hard at first :

I took the excess out with a wet dishcloth :

Another sheet of paper of the top :
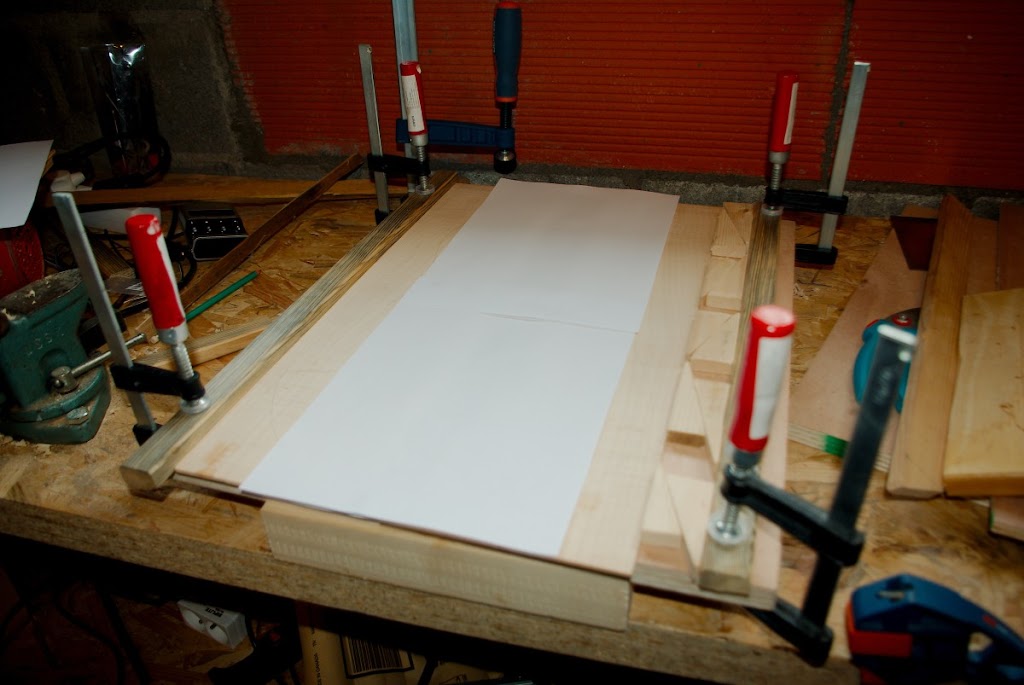
After having tighten everything, I leaving it to dry for a night :

I have disassembled everything this morning and it looked good for a first time :)
I haven't yet taken some pictures of the result (maybe tonight).
See you soon (next step is either gluing the soundboard or starting to make the lower support bar)
Bonjour à tous !Tous d’abord pour faire le lien avec le dernier post voici quelques-uns des serre-joints à tabler que j’avais réalisé : (Cliquez sur les photos pour les agrandir)
Bon voilà sinon pour les nouvelles le bois est arrivé ce samedi matin :
Je n’ai pas (encore) de grosse machines, j’ai donc commandé des débits mis à l’épaisseur directement !
Du coup ben j’ai pas pu résister à commencer directement le projet le dimanche :D
J’ai donc attaqué par le collage du fond. Voici tout d’abord les 2 morceaux du fond.
Ici on voit bien le joint qui “jointe pas” :wink:
Dressage des champs du fond en utilisant un bout de contre-plaqué coupé bien droit comme guide :
Puis finition en utilisant un “mini” rabot et un crayon pour repérer les zones où il faut enlever de la matière :
Voilà le résultat après 3 heures de boulot et de retouches :
Montage à blanc avant le collage. Le serrage s’effectue avec des cales triangulaires :
Ensuite la titebond est venu à la rescousse. J’ai mis de la colle sur chaque cotés.
On voit aussi la feuille de papier que j’ai mis sur le dessous pour éviter toute mauvaise surprise une fois le collage terminé :
Mise en place des 2 morceaux du fond puis des cales triangulaire. J’ai serré un petit peu mais pas trop encore :
On essuie le surplus de colle avec un torchon humide :
Une autre feuille de papier sur le dessus pour pas que ça colle :
Et voilà après un bon serrage c’est parti pour 1 nuit de séchage :
Voilà j’ai démonté tout ce montage ce matin et ça n’a pas l’air trop mal pour une première fois :)
Je n’ai pas encore fait de photos du résultat (peut-être ce soir).
A très bientôt (prochaine étape : soit tant que j’y suis collage de la table, soit j’attaque les barrages du fond)